Kitchen cabinets often bear the brunt of time—peeling, chipping, and discolored paint can quickly dull the heart of your home. Stripping old paint can unveil the natural beauty of wood or prepare the surface for a sleek new finish. Whether you’re chasing a rustic charm or planning a modern refresh, learning how to strip paint from kitchen cabinets is a satisfying and empowering DIY project.
Why You Might Want to Strip Paint from Kitchen Cabinets
Paint begins to crack, bubble, and fade after years of exposure to steam, grease, and daily use. Stripping the old layers not only revives the underlying material but also creates a fresh canvas for new design choices. It allows you to restore historical charm, eliminate lead-based or toxic paints, and enhance the resale value of your home. A fresh start is often the simplest path to transformation.
Understanding the Basics: What Does “Stripping Paint” Actually Mean?
Stripping paint refers to the process of removing one or more layers of finish from a surface—in this case, your kitchen cabinets. Unlike sanding, which gradually wears the finish away, stripping involves the use of chemical or natural agents to dissolve the paint, making it easy to scrape off. It exposes the bare wood beneath, giving you full control over how the cabinets will look and feel moving forward.
Essential Tools and Supplies You’ll Need for the Job
Preparation is paramount. Equip yourself with protective gloves, goggles, and a mask to guard against fumes and splashes. Other essentials include:
- A quality paint stripper
- Plastic or metal scrapers
- Drop cloths or plastic sheeting
- A heat gun (optional)
- Sandpaper (medium and fine grit)
- Rags, buckets, and cleaning solutions
- A brush or roller for applying the stripper
Having these on hand will streamline your work and minimize frustration.
Types of Paint Strippers: Chemical vs. Natural Methods
Choosing the right type of stripper can significantly affect your outcome and experience.
Chemical Paint Strippers
These are solvent-based or caustic formulas designed to break down paint quickly. Methylene chloride-based strippers are powerful but come with serious health risks. Safer alternatives include NMP (N-Methyl-2-pyrrolidone) or low-VOC gel-based options, which are effective while being slightly gentler on both surfaces and lungs.
Eco-Friendly and DIY Alternatives
For those wary of chemicals, citrus-based strippers or even homemade solutions using baking soda and vinegar offer a greener approach. While slower and less aggressive, these options are non-toxic, biodegradable, and ideal for indoor use without industrial ventilation. Heat guns are another eco-alternative, using hot air to loosen paint without chemicals.
Safety First: Precautions to Take Before You Begin
Ventilation is crucial. Open windows, run fans, and avoid confined spaces. Wear long sleeves, goggles, and chemical-resistant gloves. Always read the label on any product—some strippers are flammable, while others can harm skin or respiratory systems. Keep pets and children away, and never eat or drink near the work area.
Preparing Your Kitchen Cabinets for Paint Stripping
Clear the area and lay drop cloths or plastic to protect floors and counters. Remove all hardware—handles, hinges, and knobs—and label them for easy reassembly. Clean the cabinets with a degreaser to remove residues that might interfere with the stripper. If possible, work on doors separately for better control and reduced mess.
Step-by-Step Guide: How to Strip Paint from Kitchen Cabinets
Removing Cabinet Doors and Hardware
Begin by unscrewing doors and drawers. This not only makes the process easier but also ensures even stripping and painting later on.
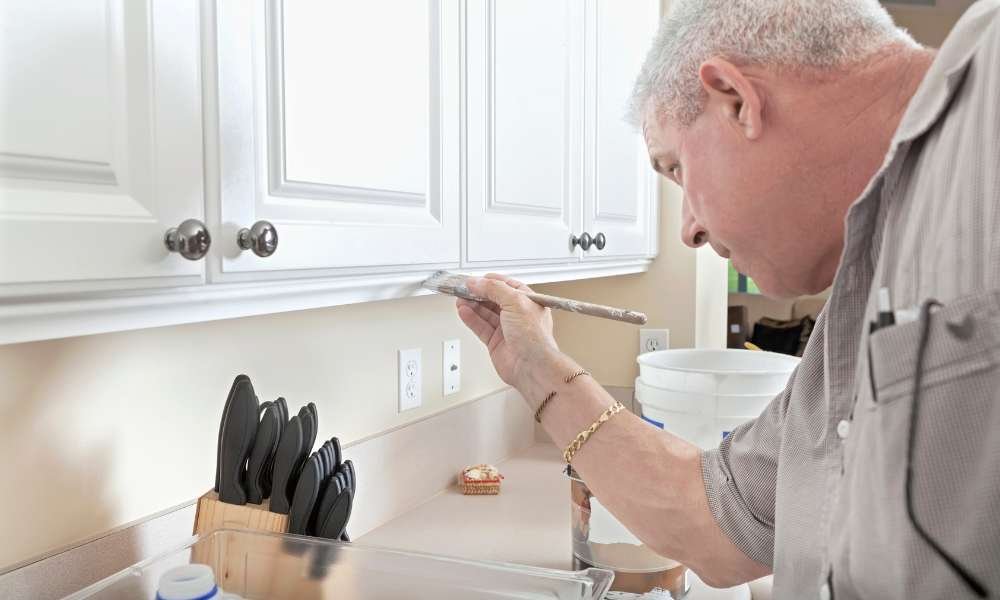
Applying the Paint Stripper
Using a brush or roller, apply a thick coat of the stripper evenly across the painted surface. Allow it to sit for the manufacturer-recommended time—usually 15 to 45 minutes—until the paint begins to blister or bubble.
Scraping and Cleaning Off the Paint
Gently use a scraper to lift the paint. Avoid gouging the wood. Work with the grain and remove as much paint as possible. For tight corners or ornate details, a toothbrush or steel wool may help.
Dealing with Stubborn Spots and Multiple Layers
Older cabinets often have multiple layers of paint. You may need to reapply the stripper or switch to a stronger product. Patience and persistence are key here—some areas may take two or three passes to fully clean.
What to Do After Stripping the Paint: Cleaning and Neutralizing the Surface
Once the paint is removed, wipe down the wood with a clean rag soaked in mineral spirits or water (depending on the stripper used) to neutralize any remaining chemicals. Let the surface dry completely—ideally overnight—before sanding or refinishing.
Sanding Your Cabinets for a Smooth Finish
Use medium-grit sandpaper (120–150) to remove any leftover residue, then switch to fine-grit (220) for a silky finish. This step evens out the surface and prepares it for primer, stain, or sealant. Always sand in the direction of the wood grain to avoid visible scratches.
Common Mistakes to Avoid When Stripping Paint
Skipping safety gear, rushing the process, and applying too much pressure while scraping can all lead to damaged cabinets or health hazards. Another common error is not testing the stripper on a small area first. Always start with a patch test to see how the surface reacts.
How Long Does It Take to Strip Paint from Kitchen Cabinets?
The timeline varies depending on the number of cabinets, layers of paint, and method used. A small kitchen may take a day or two, while a larger one could span a weekend or more. Factoring in drying and sanding, the full process often ranges from 2 to 5 days.
Tips for a More Efficient and Cleaner Paint Stripping Process
Work in sections to avoid drying out the stripper before scraping. Use cling film over applied stripper to trap moisture and accelerate the bubbling process. Keep your tools clean, change rags often, and dispose of waste according to local regulations to prevent toxic build-up.
Should You Repaint or Refinish After Stripping?
Once bare, your cabinets can be repainted for a fresh look or refinished to showcase the natural grain. Repainting offers color flexibility, while refinishing emphasizes the wood’s organic character. Consider your kitchen’s style and your long-term maintenance goals before deciding.
When to Call a Professional for Help
If your cabinets are antique, built-in, or contain lead-based paint, it’s wise to bring in a professional. Likewise, intricate detailing or time constraints may make expert help the better option. Professionals bring speed, precision, and peace of mind.
Final Thoughts
Stripping paint from kitchen cabinets is not just a home improvement task—it’s a restoration journey. With the right tools, a clear plan, and a bit of patience, anyone can breathe new life into tired cabinetry. It’s a rewarding process that revives both the aesthetic and functional soul of your kitchen.