
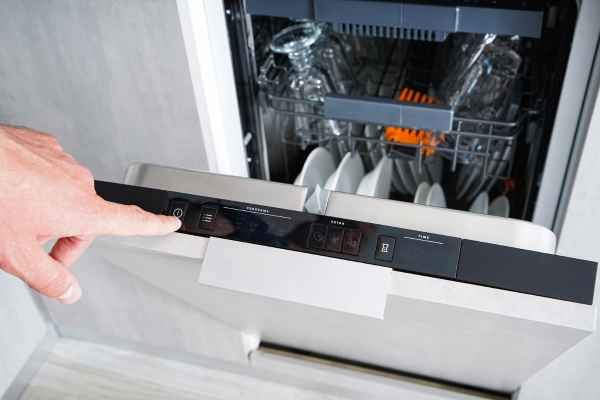
In a small kitchen where space is limited, every appliance must work efficiently—and that includes your dishwasher. The filter plays a key role in ensuring your dishwasher operates at its best. It traps food particles, preventing them from recirculating and redepositing on dishes. When the Strainer is clean, the dishwasher can spray water more effectively, improving wash quality and saving water—an essential factor in a compact kitchen environment where you want maximum utility with minimal resources. Dishwasher Placement In Small Kitchen.
How a Dirty Filter Impacts Dishwasher Performance
Neglecting your KitchenAid dishwasher Strainer can lead to a host of issues, especially in tight kitchen setups where airflow and drainage may already be compromised. A clogged Strainer forces the machine to work harder, leading to longer cycles, increased noise, and even foul odors. This not only affects the cleanliness of your dishes but may also result in water pooling or leaks—serious inconveniences in a small kitchen space. Regular filter maintenance is a simple yet powerful way to extend the life of your dishwasher and preserve the peace of your tiny kitchen.
Signs Your KitchenAid Dishwasher Filter Needs Cleaning
Even in a small kitchen where you closely monitor your appliances, a dirty filter can sneak up on you. If you notice your dishes coming out grimy or still gritty, especially glasses or utensils, that’s a red flag. Other signs include unpleasant smells, a loud grinding noise during the wash cycle, or standing water at the bottom of the dishwasher. These issues are often traced back to a neglected Strainer and can be easily remedied with a proper cleaning routine.
Different Types of KitchenAid Dishwasher Filters
KitchenAid dishwashers typically feature one of two Strainer types: manual-clean filters or self-cleaning filters. Understanding which type your model uses is crucial, particularly in a small kitchen where you want to avoid unnecessary mess or damage during maintenance.
Manual-Clean Filters
These require hands-on cleaning every few weeks, depending on how often you run your dishwasher and whether you pre-rinse dishes. They’re usually easy to remove and rinse under warm water, making them a practical choice for people in small spaces who value direct control and easy upkeep.
Self-Cleaning Filters
These use a grinder or chopper system to break down food particles. While convenient, they tend to be noisier—a consideration if your small kitchen is open-plan or close to your living area. They also consume slightly more energy and water, which might be a downside if efficiency is your top priority.
Where to Locate the Filter in a KitchenAid Dishwasher
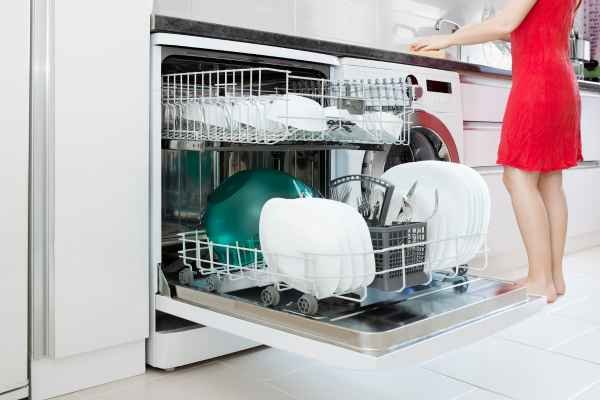
In small kitchens, efficiency and access are everything. Luckily, KitchenAid designs its dishwashers with maintenance in mind. The filter is typically located at the bottom center of the dishwasher floor, just beneath the lower spray arm. You’ll need to slide out the bottom rack to access it. In cramped kitchens, it’s important to position your dishwasher in a spot where this kind of access won’t be obstructed—preferably with enough floor space in front to crouch and reach in comfortably.
Essential Tools You’ll Need Before Cleaning the Filter
Keeping your small kitchen organized also means having the right tools on hand for routine maintenance. Before cleaning the filter, gather a soft-bristled brush or old toothbrush, a bowl of warm soapy water, and a microfiber cloth. You might also want a pair of rubber gloves if you prefer to avoid direct contact with food residue. Having these items ready helps you clean quickly and efficiently without cluttering up your limited counter or sink space.
Safety First: Precautions to Take Before You Begin
Before diving into filter cleaning, always ensure the dishwasher is turned off—unplug it or switch off the circuit breaker if possible. Also, allow it to cool down completely if it was recently in use. A hot appliance in a tight kitchen can cause burns or discomfort. Always avoid using abrasive tools or harsh chemicals on the Strainer, as these can damage the fine mesh and affect performance.
Step-by-Step Guide: How to Clean KitchenAid Dishwasher Filter
Step 1: Turn Off and Empty the Dishwasher
Begin by shutting off the dishwasher’s power source and making sure it’s completely empty. Remove all dishes and cutlery. This ensures you have full access and don’t risk damaging any items during the process.
Step 2: Remove the Bottom Rack for Easy Access
Pull out the bottom rack entirely and set it aside. This clears the way to reach the filter, which sits flush against the base of the dishwasher beneath the spray arm. In a small kitchen, place the rack on a towel-covered counter or table nearby to keep your space tidy.
Step 3: Twist and Lift Out the Filter

Most KitchenAid filters twist out counterclockwise. Firmly grasp the cylindrical section of the Strainer and twist it to release. Gently lift it out, being careful not to spill any trapped debris.
Step 4: Rinse the Filter Under Warm Water

Hold the filter under warm running water. For greasy buildup or caked-on food, soak it in a mix of warm water and mild dish soap for 10–15 minutes.
Step 5: Use a Soft Brush to Remove Stubborn Debris
With your soft-bristled brush, scrub the mesh and plastic frame of the filter gently but thoroughly. Focus on corners where food tends to get trapped. Avoid using metal brushes or scouring pads—they can puncture the Strainer mesh.
Step 6: Reinsert the Filter Securely
Once clean, place the filter back into its slot. Twist clockwise until it locks into place. A loose Strainer won’t do its job properly and can cause drainage issues. Make sure it sits flat and snug before closing the dishwasher.
How Often Should You Clean Your KitchenAid Dishwasher Filter?
In a small kitchen where every appliance must perform at peak efficiency, filter maintenance is key. You should clean your KitchenAid dishwasher filter at least once a month, or more frequently if you use the dishwasher daily or rarely pre-rinse your dishes. Food particles, grease, and soap residue can quickly clog the Strainer, affecting wash performance. Consistent cleaning ensures your dishes come out spotless and your compact kitchen stays odor-free.
Deep Cleaning vs. Regular Maintenance: What’s the Difference?
Regular maintenance involves rinsing off the filter under warm water and giving it a quick scrub to remove food bits—this should be done every few weeks. Deep cleaning, however, goes further. It includes soaking the Strainer in soapy water, scrubbing with a brush, inspecting for hidden buildup, and even wiping the filter housing. In a small kitchen where odors can linger and airflow is limited, deep cleaning every few months helps prevent bacteria and grime buildup that can quickly affect your overall kitchen hygiene.
Tips to Keep the Filter Clean for Longer
Smart habits can extend the time between cleanings. Scrape off excess food before loading dishes, avoid overloading the dishwasher, and run hot water before starting a cycle to boost cleaning power. You can also use a dishwasher cleaner monthly to flush out greasy residue. If your small kitchen uses eco-friendly dish soaps, make sure they don’t leave behind extra buildup, which can clog filters faster. These little changes go a long way in keeping your filter clear without constant attention.
What Not to Do When Cleaning a Dishwasher Filter
Avoid using sharp tools or abrasive cleaners that can damage the mesh or plastic components of the filter. Never reinsert a wet or improperly aligned Strainer—it can affect drainage and leave dishes dirty. Don’t ignore strange smells or cloudy glasses, as they often signal filter issues. Also, avoid using bleach or harsh chemicals inside the dishwasher, especially in small kitchens where fumes can linger longer due to less ventilation.
Troubleshooting: What If the Filter Won’t Come Out?
If your KitchenAid filter feels stuck, don’t force it. Hard tugging can break internal components. First, double-check that you’re twisting it in the right direction—most filters release counterclockwise. If it still doesn’t budge, soak the base of the Strainer area in warm vinegar water to dissolve grime that may be causing it to stick. For filters that seem jammed, contact KitchenAid support or refer to your model’s manual. In compact kitchens, it’s important not to disassemble components unless you’re confident—one small slip can lead to a bigger mess in tight quarters.
How to Know If You’ve Reinstalled the Filter Properly
Once you’ve cleaned your KitchenAid dishwasher filter, putting it back in place correctly is just as crucial as cleaning it. The Strainer should sit flat and flush with the dishwasher floor, with no wobble or gaps. You’ll typically hear or feel a subtle click or lock when it’s twisted into the correct position. In a small kitchen, where appliance access might be limited, a securely reinstalled filter ensures that water flows properly, preventing leaks, clogs, or decreased performance. Always give it a gentle tug after placement to ensure it doesn’t shift out of place.
The Connection Between Filter Care and Energy Efficiency
Keeping your dishwasher filter clean isn’t just about sparkling dishes—it’s also about energy savings. A clogged Strainer forces your dishwasher to work harder, running longer cycles and using more electricity and water. In a compact kitchen, energy efficiency is often top priority since ventilation, lighting, and appliances compete for limited resources. Regular filter maintenance means quicker wash times, reduced power use, and better water conservation—perfect for eco-conscious homeowners working with small, efficient spaces.
Common Mistakes That Shorten the Life of Your Dishwasher Filter
Missteps like using abrasive brushes, forcing the filter out, skipping regular cleanings, or reinstalling it loosely can all reduce your filter’s lifespan. Another mistake? Ignoring debris around the Strainer housing, which can get sucked into the Strainer and cause damage. In small kitchens, where spills or clutter can build up faster, avoiding these mistakes helps ensure your dishwasher runs smoothly for years. Take a few minutes of care now to prevent costly repairs later.
Eco-Friendly Cleaning Solutions You Can Use
You don’t need harsh chemicals to clean your dishwasher Strainer. White vinegar, baking soda, and warm water are powerful, non-toxic alternatives that are safe for you and your kitchen environment. Soak the Strainer in vinegar to break down grease, then scrub with baking soda for an extra boost. These ingredients are gentle on both your appliance and your lungs—ideal for tight kitchens where chemical smells can linger. Plus, they’re affordable and easy to store in small spaces.
When to Replace the Filter: Knowing the Signs
Even with proper care, a dishwasher filter doesn’t last forever. If you notice persistent odors, poor cleaning performance, visible damage like cracks or holes in the mesh, or discoloration that doesn’t go away with cleaning, it’s time for a replacement. Replacement filters are often affordable and easy to install. In a small kitchen, replacing a faulty Strainer promptly can prevent water damage or operational failure that could disrupt your entire kitchen routine.
Final Thoughts
A well-placed dishwasher in a small kitchen is a game-changer—but only if it’s properly maintained. The filter is a small component with a big job. By staying on top of cleaning and learning how to care for it correctly, you ensure your dishwasher stays efficient, odor-free, and long-lasting. Small kitchens thrive on smart habits, and regular Strainer maintenance is one of the smartest you can adopt.